Posted by N1ceone on 9th Feb 2023
Car Vinyl Transfer Decal Application Guide
Vinyl Transfer Decal Application Guide
N1ceone decals are the Perfect addition to any Tuff 4x4 rig, drift missile, or daily whip. we offer a wide range of high-quality vinyl decals that are easy to apply and will last for years to come. The absolute last thing we’d want is for anybody to wrongly or badly apply one of our decals to their car So please make sure you follow our application guide.
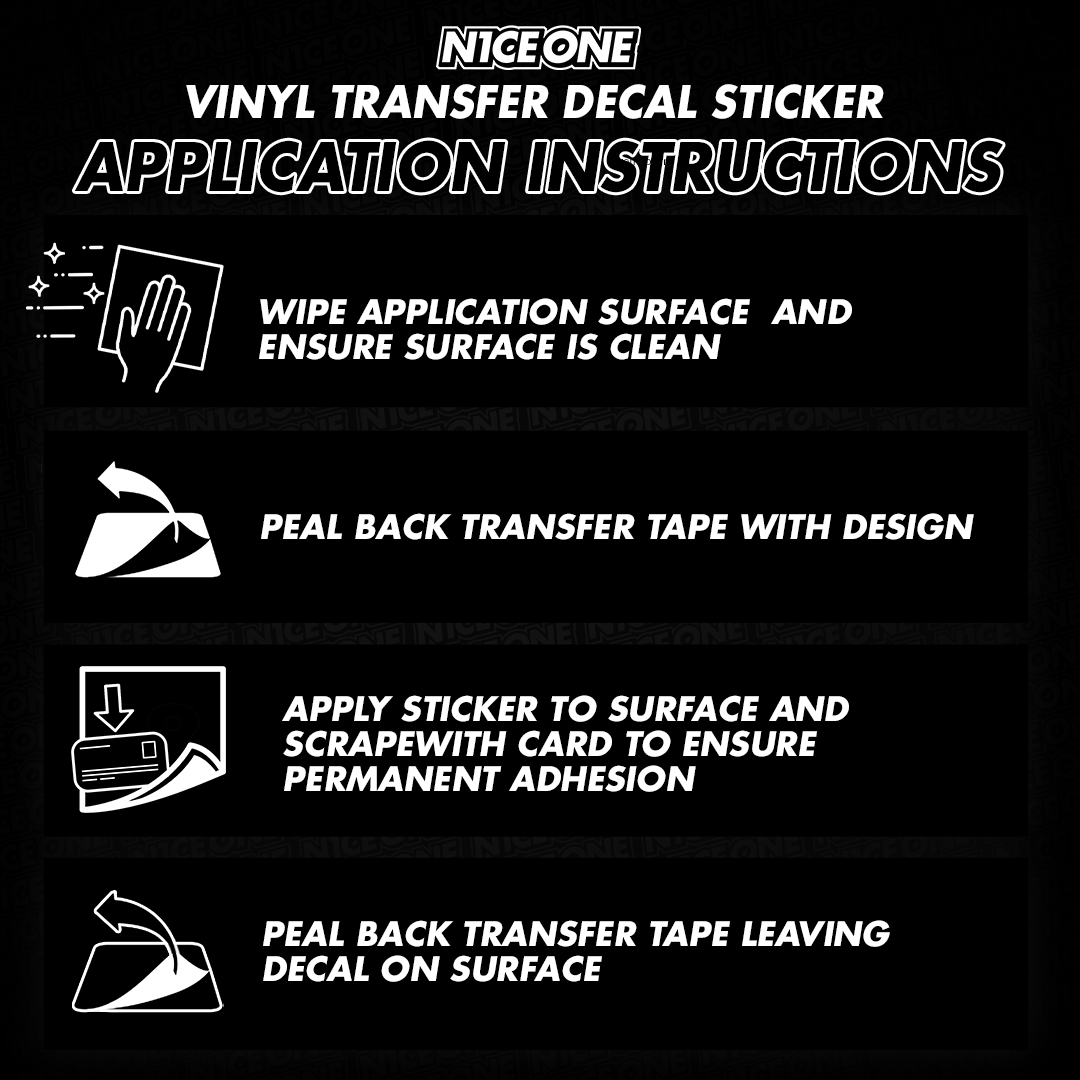
Step 1: Wipe the Application Surface
Before applying your Vinyl Car Transfer Decal, it's essential to clean the surface you will be applying it to thoroughly. Use a microfiber cloth or window cleaner to remove any dirt, dust, or debris from the surface. This will ensure proper and long-lasting adhesion.
Step 2: Peel Back Transfer Tape with Vinyl Decal Attached
Once the surface is clean, peel back the transfer tape with the vinyl decal attached. Take care not to touch the adhesive side of the decal and Make sure the entire decal is on the transfer tape.
Step 3: Apply Decal to the Surface and Scrape with a Card to Ensure Adhesion
Carefully align the decal with the surface and apply it. Don't f*ck up, once it's on, it's on. Use a card, such as a credit card, to firmly scrape over the decal and ensure it's securely adhered to the surface. This will remove any air bubbles and ensure a smooth and wrinkle-free application.
Step 4: Peel Back the Transfer Tape Leaving the Decal on the Surface
Finally, slowly peel back the transfer tape, leaving the decal on the surface. Be careful not to pull the decal away from the surface as you remove the transfer tape. Once the transfer tape is removed, your decal is securely in place and ready to be admired.
Finally, once your decal is on, post your fresh new decal and sick whip onto social media and @n1ceone.au, we’d love to see it.